DIY Christmas Friday #5 Christmas Charger
Ok…Somehow I posted my DIY Christmas Friday #6 before #5. How does that happen? It couldn’t be that I’m losing my mind??? Anyway, just pretend that #6 was #5 and we will be good to go! I shared my Christmas Dining room with you and I promised you I’d show you how to make these Christmas chargers. Since it is DIY Christmas Friday #5 it is the perfect time to show you how to make a Christmas charger!
A quick visit to the local Dollar Tree to purchase these gold chargers.
Then a quick couple of coats of flat black spray paint. Yes, the irony is not lost on me here. Normally, I would be spray painting chargers gold – I am addicted in love with Krylon’s Gold Metallic spray paint!
Although they are a bit shiny here, when dry they will be flat and have the appearance of a chalkboard.
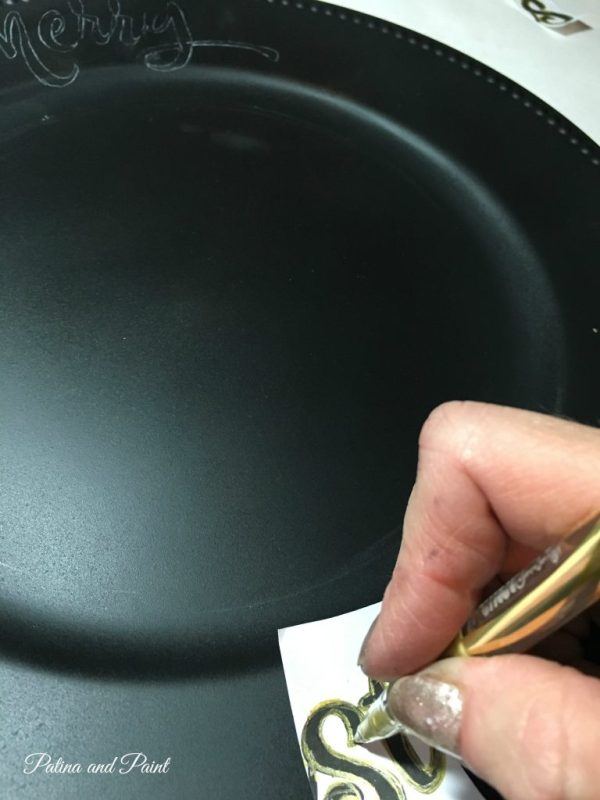
Next I printed off my design about one and one half to two inches tall. Instead of trying to figure out the “curve” I needed I just printed it out normally , then cut the letters apart and placed them as I went. I had white transfer paper from Michael’s that I used to transfer the design to the charger as you see here.
tip: start at the top placing your lettering. Once done tracing the lettering, find the center. Lay a ruler vertically from the center of the top lettering down to the bottom of the charger. Lightly mark. This should be the center of your lettering on the lower edge. To trace your lettering on the bottom of charger, start in the middle and work your way out.
Once you have transferred the outline of your lettering, color in the letters with white paint pens. I also found these at Michael’s for about $3.00 each.
I wanted a little more detail on my charger, so I colored the very top of the raised dots that are on the edge. Again coloring with my paint pen.
 Your lettering may be a little streaky, but that’s okay. It’s suppose to look as if you colored it in with chalk. If this really bugs you, give your design another coat of paint.
There you have it. I painted Merry Christmas on all eight of my chargers, but really it would be fun to put a different sentiment on every charger too!
I think I spent a total of $1.50 on each charger as I already had the transfer paper and left over spay paint. Not too bad for a custom look on your table!
Until next time….
Tammy
See something you liked? Don’t forget to Pin it!
You can find me at these FABULOUS parties…


