Halloween Shadow Box

Welcome to the Creative Craft hop! On the third Thursday of the month a group of fun bloggers get together and share some really fabulous crafts with you. This month I’m sharing how to make a Halloween Shadow box.

Before we get started I’d like to thank Sara from Birdz Of A Feather for hosting this hop each month. We could not do it without her!
If you are coming here from Carol’s at Blue Sky At Home, welcome, I’m so glad that you are here!
Now let’s get started!
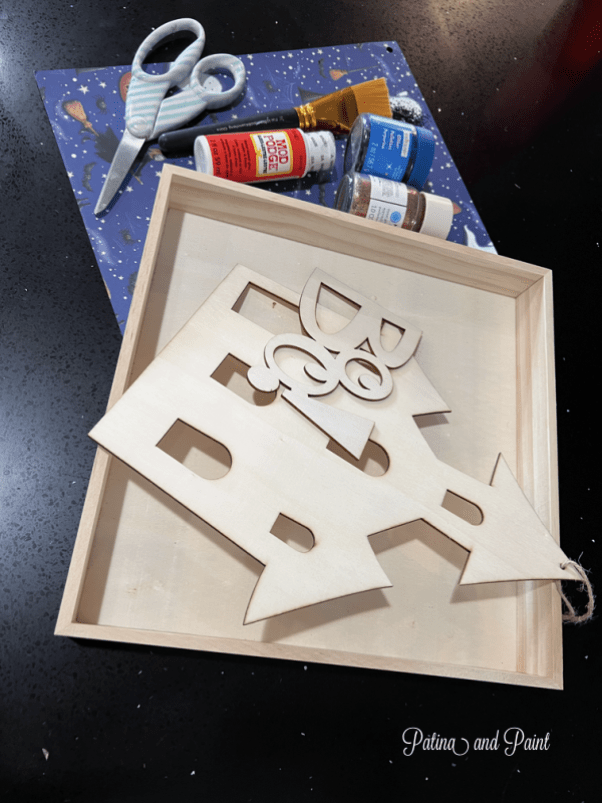
Supplies
Halloween Card Stock 12 x 12
Glitter – Black, Silver and Orange
Craft Glue
Hot Glue and Glue Gun
Scissors
Acrylic Paint – Black and Orange
Ribbon

Step 1
Using black acrylic paint, paint the shadow box black.
Set aside to dry.
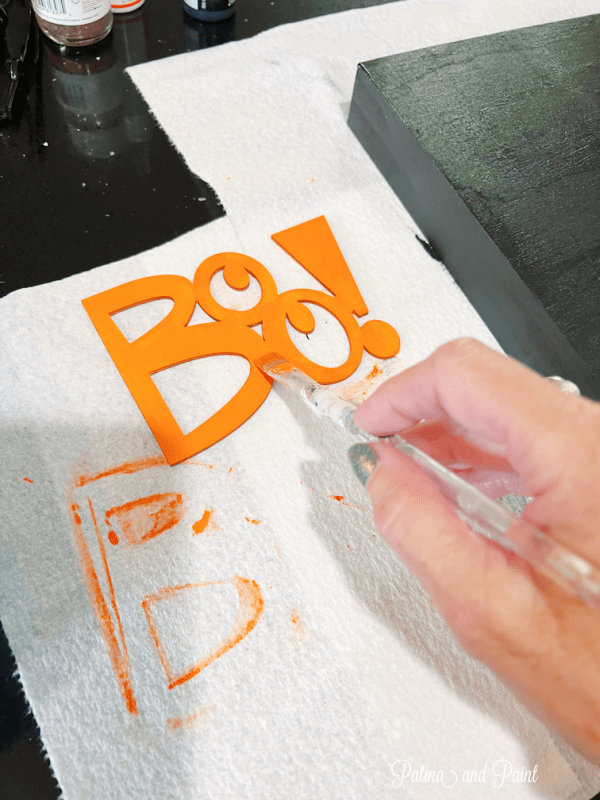
Step 2
Paint your haunted house black and your Boo! sign orange.
Let dry.

Step 3
Using the inside measurements, cut your card stock to fit inside the shadow box.
Once you have it fitted to the bottom of your box, apply a coat of Mod Podge to the base.
Then place your paper on top of the Mod Podge.

Using an old credit card, I pushed out any air bubbles.
Let dry, then apply a coat of Mod Podge to the top of the paper and sides of your shadow box.

Step 4
Apply a thin layer of Mod Podge to the top of the Haunted House and Boo! sign then sprinkle on glitter.
Gently shake off any glitter that is not stuck to the signs.
Set aside to dry.

Once the haunted house is dry, apply a thin bead of silver glue to the outside edge of the haunted house .
Immediately sprinkle on silver glitter, try to keep as much of the silver glitter off of the black glitter as possible.
Let dry.

Step 5
Using Hot glue, hot glue the haunted house and Boo! signs to the front edge of the shadow box.
I added a small bow to the upper edges for a little color.

You can always display your finished haunted house shadow box as is, however I found a few other ways to have fun with it!
First I found this small Halloween scene projector at the Dollar Tree.
It looks super cute with it shining off to the side!

Or you could add a few tea lights behind the haunted house cut out to light up your house!
Either way, this haunted house shadow box is sure to be a great new addition to my Halloween decor.
Let the Halloween decorating begin!
Now please join me in visiting Gail at Purple Hues and Me as well as all of the other hop participants to see what they have created this month.
DIY Crystal Balls from Dollar Tree Supplies
How to Decorate a Glass Vase with Twine
Scrap Wood Black Cats for Fall
Dressed Up Dollar Store Pumpkin Place Cards
Faux Terracotta Pumpkin Tutorial
Until next time….
Tammy

Pin For Inspiration!
Wow Tammy! The two tone sparkle on the house is amazing! Love how the projector ties in with it too.
Thanks Sara! That projector was a fun Dollar Tree find!
This is adorable and simple to make it. Thanks for the step-by-step tutorial. You never disappoint us with your creative!
Thanks Terrie!
This is adorable Tammy! Such a cute idea! I made a Christmas shadow box last year, it was fun and makes a great little 3 D decoration. Love the background paper you chose, and all the glitter! The mini projector is so cool!
Thanks Jenna! The mini projector was a fun Dollar Tree find.. I am having way too much fun with it for sure.
Tammy, this is such a fun and festive project! Thanks for sharing!
Blessings, Cecilia @My Thrift Store Addiction
Thank you Cecilia!
How cool and fun is this shadow box is for Halloween! It’s perfect! Well done!
Thanks Gail. It was a fun project.
Oh my goodness! This is so much more than a shadow box with the projector. Fantastic, Tammy!
Thank you Ann! That projector is super fun and a great addition for sure.
Tammy, what a cute project. Can’t wait for Halloween.
I can’t wait for Halloween either Carol!