Mini Cutting Board

Have y’all seen this mini cutting board at Hobby Lobby? I’m obsessed! I don’t know why, I guess it’s just because it’s so darn cute.
I purchase the rectangular ones last fall and loved using them at individual place settings on my table.
They were so pretty with grapes and cheese.
Or a wonderful cupcake type dessert.
So when I saw these round ones I couldn’t resist buying one… or two…

However, for the round ones I decided to make them into a decor item… and a functional cutting board too.
Business in the back, party in the front!

Supplies
Round Cutting Board
Paint
Paint Brushes
Gold leaf
Blue tape
Chalk pencil

Step 1
Let’s start with the party in the front part.
I wanted to add my kitchen colors to my cutting board.
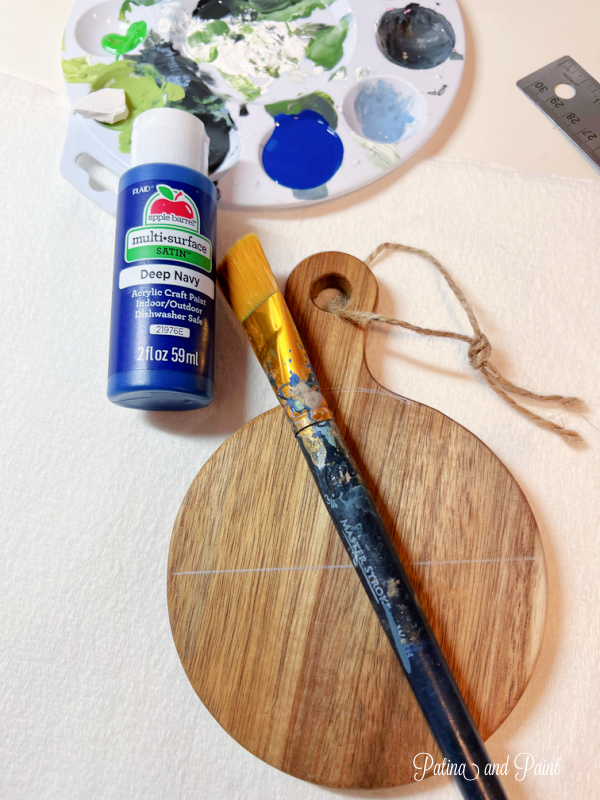
Find the center point on your cutting board and draw a horizontal line using a chalk pencil.
l love using chalk pencils because they are so easily erased.
If you have a steady hand paint your board from the chalk line down.
If not, they use blue tape to protect the top half of your board from paint.

Since I don’t want any paint on the sides of my board, I like to paint the edges after I paint my horizontal line.
Paint from the inside toward the outside, keeping your brush from wrapping to the edge.
Then paint the middle using smooth, long strokes.
Let dry.

Step 2
Now that your paint has dried, it’s time to add in the fun part.
I’m adding our last name initial to the center of the board.
Using my Silhouette machine, I cut out the letter L and placed it in the center of my board.

Problem #1
Since I had used black vinyl and my board was dark on the top and the bottom, I quickly realized that you couldn’t see the letter very well.
But I had a solution!
 Problem #2
I would trace the outline of the letter using a small gold marker.
And quickly realized that it looked terrible!
The gold didn’t show up enough and quite frankly it looked green.
Again I thought I had a quick fix.
Problem #3
I traced the black vinyl letter with my chalk pencil, then removed the vinyl letter.
Using my favorite gold paint, I painted in the letter.
It’s my favorite paint because it’s truly gold!
However, it still didn’t have the wow factor I was looking for.
At this point I was ready to sand everything off and start over, when I had one last thing to try that just might fix it.

Gold leaf.
Yep, I brought out the big guns.

And guess what?
It worked.
I simply followed the gold leaf directions and FINALLY I had the gold initial that I wanted.

I know that you are thinking “but Tammy, it isn’t food safe.”
No, it isn’t.
However, if I ever need to use a small cutting board I can simply flip it over and use that side.
Of course, it’s a hand wash situation.
I LOVE my cute mini cutting board decor.
Party in the front, business in the back.
Until next time…
Tammy
Be Sure To Pin It For Later!

The side of your island looks amazing with the little designed cutting board. Great job, Tammy. Isn’t it funny how plan B or even C works out better than plan A?? Great problem solving!!
I have so many cutting boards , I use them all the time. Some are just for decoration purposes. I haven’t got bold enough yet to paint one.
Yours is looks amazing on your Island bench!!
Teresa!
I have so many cutting boards , I use them all the time. Some are just for decoration purposes. I haven’t got bold enough yet to paint one.
Yours is looks amazing on your Island bench!!
Teresa!