Spooky Halloween Sign
Can you believe that October is only days away? Some days this year seems to be flying by and on others it seems to crawl. Luckily I’ve been able to keep busy with lots of crafts, reading and decorating the past few months. One of the crafts I worked on was this Spooky Halloween sign. It is so easy, fun and versatile that I just had to share it with you!
I found this super cute sign at Hobby Lobby.
Did I know what I was going to do with it?
No, but it was so cute I couldn’t resist!
The ribbon is from Hob Lob also, but the cute metal Spooky cutout and the sweet little wooden cutouts came from the Dollar Tree.
Step 1:
Take the sign apart.
That’s right, I removed the sweet little wooden beads so that I could paint them.
The wooden signs tray would need a little paint too.
Step 2:
Painting the beads.
To paint the beads I put them on a wooden skewer like I did when I made these mini signs.
If you missed it, you can see how I made them here.
Putting the beads on a skewer is a game changer.
Step 3:
Before I painted the sign, I cut the ribbon to fit the tray.
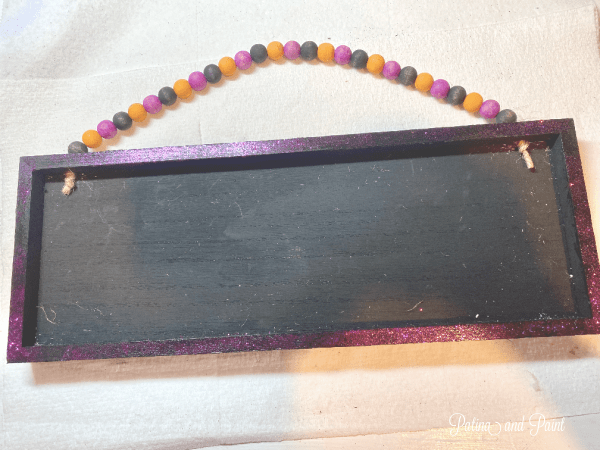
Then painted the sign black and added purple glitter to the frame.
Step 5:
Once both the sign and the beads were dry, I reattached the beads to the sign using new twine.
Step 6:
Next, I glued the ribbon that I pre-cut earlier onto the the sign.
Step 7:
Now, paint the witch hat and ghost cutouts.
If you aren’t comfortable painting the cutouts, I think that they would be super cute covered in Halloween themed scrapbook paper.
Step 8:
Glue the painted wooden and metal cutouts onto the sign.
Add a cute, simple bow made from Halloween ribbon and your Spooky Halloween sign is finished!
I added my sign to my coffee bar for some much needed Halloween decor.
So cute!
I love how easy, inexpensive and fun this project was.
It was a quick afternoon project that cost me under $8.00!
My kind of craft!
Until next time…


I love it!! What a great inexpensive idea!! Can’t wait to see what’s up your sleeve next!