How To Make A Jewelry Organizer
My nieces visited the castle this week! Yay! We had a ton of fun. Always enjoy family time. While they were here they wanted to do a little DIY, so I showed them how to make a jewelry organizer!
We started with these cute picture frames from Michaels. Plus a little craft paint, ribbon, embellishments of their choice, and some wire mesh.
First thing is first, we removed the back …
and painted both sides of the frame. At this point we could have put a protective coating on and gone on to the next step. But that is so not how we roll. A Princess needs a lot little bling!
The Princesses decided to have them match their bedrooms. So on Princess A’s we base coated with a hot pink, then drew on zebra stripes, then painted them in with black craft paint!
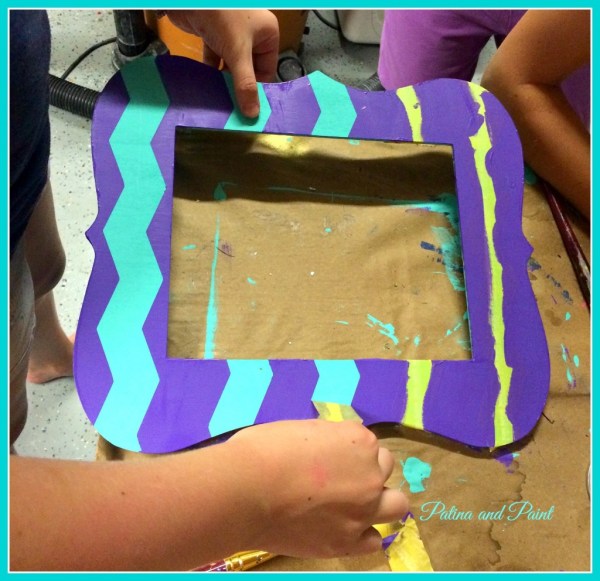
Princess K wanted chevron. I had some chevron Frog tape in the castle dungeon so she taped the frame with it, making sure that she pressed the tape on securely, then painted a purple craft paint over the turquoise.
After drying for about 5 minutes she removed the tape. Woo Hoo – we had beautiful chevron stripes!
Time to add the mesh. Up to this point it was all hands on for the Princesses, but this stuff is sharp. So it was time for the Queen to step in. Using the insert that came with the frame, I used it for a template for the wire mesh. Using tin snips, just cut out the rectangle and insert into the picture frame just like you would a picture!
These frames come with these nifty metal inserts that you fold down over your photo to keep it in place. I used those to help secure the mesh. Then for some added stability in all four corners – and anywhere that the mesh stuck up – I stapled the mesh to the frame.
Now it was time for the bling! Re-purposing furniture – I have a lot of old hardware in the castle coffers. We decided to use some old knobs. The Princesses painted them, added some rhinestones and then attached them to the bottoms of the frame to hang their crown jewel necklaces and bracelets on!
We then had a ton of fun with the embellishments – ribbon, flowers, rhinestones… whatever caught their fancy!
Here is Princess K’s finished jewelry organizer. Love those colors together. She chose them herself. I see a Interior Designer in the family soon!
Here is Princess A’s masterpiece. Matches her room AND her personality perfectly!
We worked off and on doing these the better part of the day. That included shopping, painting, assembly, decorating, swimming, eating, watching TV and playing pranks on the King.
A day well spent here at the Castle!
Until next time…..


