Painting Furniture

Hey y’all! This is the third day of One Room At A Time – Guest Bedroom and we are hard at work. Today I’m sharing the in’s and outs of painting furniture.
Honest, it’s not hard as long as you do one thing!
Prep work.
This is what I started with, a pretty emerald green night stand.

Prep Work
Now, while I said painting was pretty easy, prep work isn’t easy at all..mostly.
First you have to determine what your are starting with.
This time since I painted it green, I knew that this piece started off a dark stain.
Then it was painted white, followed by the emerald green.
Since I already had two coats of paint on the nightstand, I decided to sand it down.

Tape
Once the nightstand was sanded and cleaned, it was time to tape off anything that I did not want paint on.
Paint
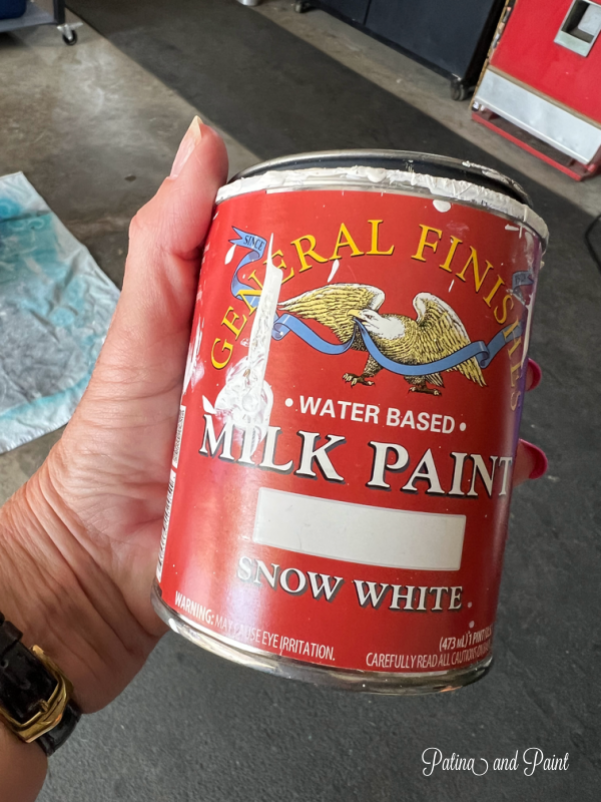
So what color did I paint my nightstands?
General Finishes Milk Paint in Snow White.
I know, feels anti-climatic?
But it’s soooooo clean and pretty!

TIP: When painting multiple coats wrap your paint brush in a grocery bad and place it in the refrigerator until you are ready to use it again!

This is what it looks like after one coat.
I will likely be painting it again and spot painting a 3rd coat.
I love using General Finishes paint because you don’t have to use a top coat or wax to seal it unless its a high use area.
Which is a huge win in my book!

This is the finished piece and I could not be happier with it!
Once down, two more to go.
Painting furniture is fun!

Don’t forget to head on over to Terrie’s to see her nightstand paint and hardware.
Until next time…
Tammy

I have loved the pop of green in your room, but the white will pop just as nicely. I painted mine a color and now you have me second guessing. I love the nightstand and can’t wait to see how you have completed the room.